Before you can set an e-mail account up in your favourite e-mail application, it must be added to your hosting account first.
E-mail addresses are created via the Client Area as well as the control panel.
Creating an e-mail account in the Client Area:
1. Log in to the Client Area and click on the Services link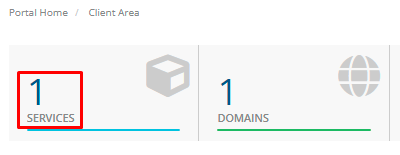
2. Locate the domain that you want to add the e-mail account to and click on the green Active link. This will open the Manage Product page![]()
3. Scroll down to Email Management and click on Email Accounts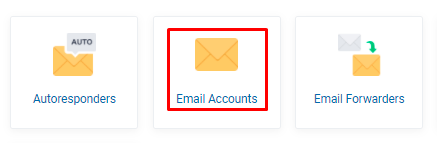
4. Click on Create Account
5. Enter the required email address in the Account box and click on the Generate password link. If you would like to limit an email account you can click on the Unlimited Quota (this is the maximum disk space of your hosting package) and Unlimited Send Limit (The maximum is 1000) 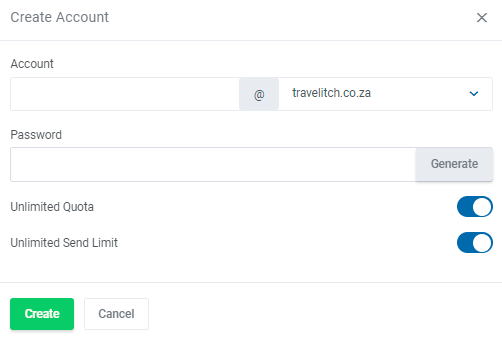
Creating an e-mail account using the control panel:
1. Log in to your control panel and scroll down to E-mail Manager and click on E-mail Accounts
2. Click on Create Account
3. Enter the required e-mail address
4. Click on the square blocks ro generate a password
5. To set a quota per email box add the amount you wish to allow. To allow the maximum use as per the hosting package click on the Max box
6. To set a send limit per email box add the amount you wish to allow or leave it at 1000, there is no need to check the Max box 
Note: Passwords cannot be viewed in the Client Area or control panel. Please memorise or store your password in a safe place once you have created the new e-mail address. If you forget your password, then you will need to generate a new one.
When the account has been added, you can proceed with setting it up on your computer or mobile device.